Eddy Current System
Systems for Tubes & Wires
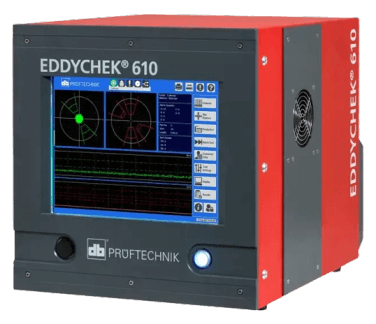
Eddychek 610
High-performance eddy current testing system for complex quality and process control tasks
- Reliable semi-finished product testing
- Tubes, bars & wire – all applications
- Up to 10 channels at 6 test positions
- Intuitive graphical user interface
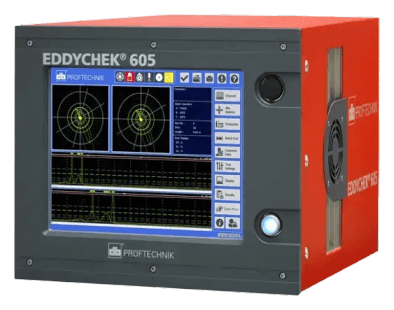
Eddychek 605
Eddy current testing system for advanced quality and process control
- Reliable semi-finished product testing
- Tubes, bars & wire – all applications
- Up to 5 channels at 3 test positions
- Intuitive graphical user interface
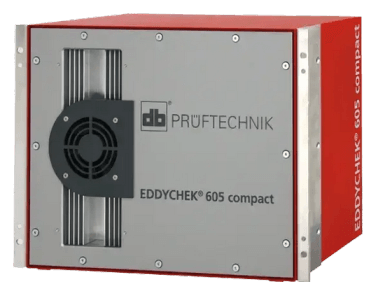
Eddychek 605 Compact
The economic eddy current testing system for reliable quality and process control
- Reliable semi-finished product testing
- Tubes, bars & wire – all applications
- Up to 5 channels at 3 test positions
- Intuitive graphical user interface
Sensors & Accessories
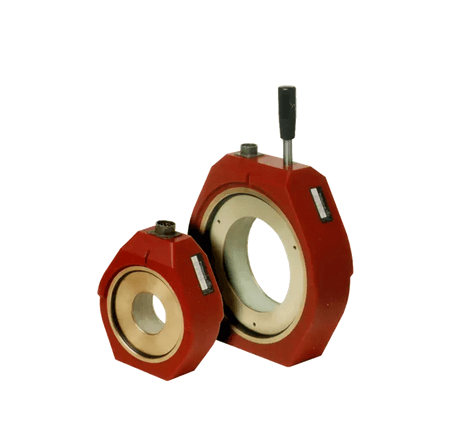

Encircling Coil
Eddy current sensors for better quality control
- Various sensitivities available
- With or without absolute channel for circumferential crack detection
- Continuous monitoring
- Automatic parameter setting
- Test piece diameters: 0.1–227 mm (1/8 – 8 7/8 inches)
- Special designs available for unusual profiles
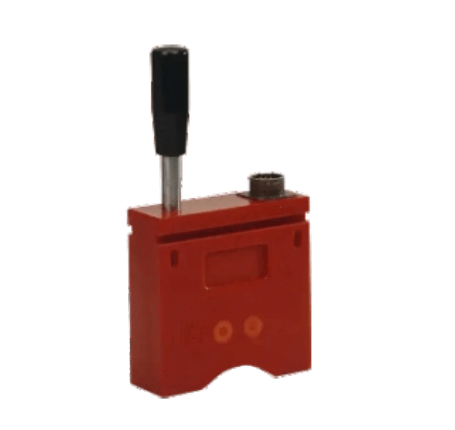
Segment Coil
Eddy current sensors for weld seam inspection
- Ideal for detecting a weld seam so that the seam can be positioned where needed for tube-forming processes such as bending.
- Special coils available
- Test piece diameters: 10–520 mm (3/8–20 7/16 inches) or flat
- Special coils available with 50°, 90° and 180° segment size
Finger probes
Finger probes are small sensors that can be used for hard-to-reach places such as complex profiles, and for localized testing.
- Various diameters
- Various inspection core positions
- Various probe lengths
- Probe holders
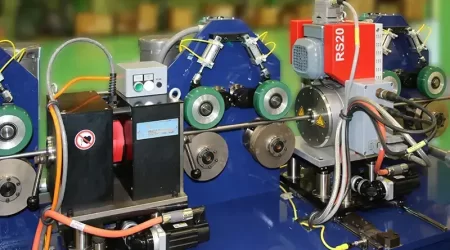
Eddy Current Rotating System For Bright Bars
For identification of longitudinal defects
Salient Features
- Reliable quality assurance for your semi-finished products
- High-speed eddy current testing
- For offline, inline and continuous testing
- Electronic lift-off compensation system for optimum signal to-defect correlation
- Extremely robust design
Working Principle
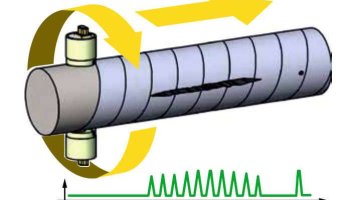
The test specimen moves longitudinally through the rotating test probes & is helically scanned without contact. If a probe passes over a material defect, it detects a change in the induced eddy current & displays this in real-time as a defect signal. The angular position of the defect along the circumference of the test specimen is shown via a special graph.
Defect resolution
The minimum defect length (i.e. the minimum safely repeatable, detectable defect length) is a function of the rotational speed of the probe and the throghput speed of the material being tested. The minimum defect depth is 0.05mm and depends on the sample’s surface qualities.
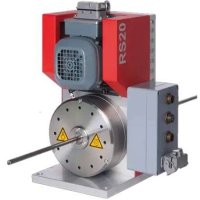
RS20
For the semi-finished products with dia. 2–20 mm (1/16–3/4 in)
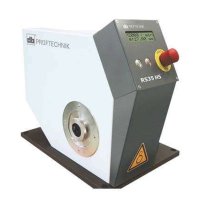
RS35HS
For the semi-finished products with dia. 3–35 mm (1/8–1¼ in)
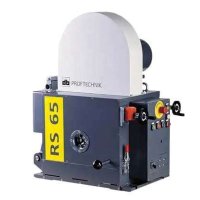
RS65
For the semi-finished products with dia. 5–65 mm (3/16–2½ in)
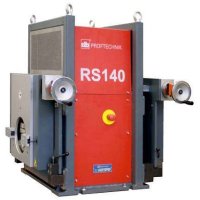
RS140
For the semi-finished products with dia. 10–140 mm (3/8–5 1/2 in)
Automated Eddy Current Bearing Inspection Systems
Standard configuration represents a 4-axis assembly (Y, Z, Gimbal, Turn Table) operated using our Eddy Current software package TecView™ EC. The software assists you in the management of motion control, scanning procedure, data collection and analysis, as well as in the setting of the Eddy Current parameters and alarms.
The Automated eddy current bearing inspection system is fully adapted to the repetitive inspection of identical parts. Once the setup is performed for a test piece, identical parts can be inspected easily and with minimal interventions from the inspector.
TecView™ EC
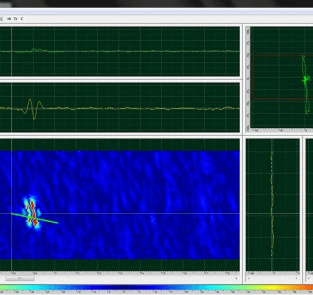
With the TecView™ EC software package, the inspector can set live and post-acquisition alarms for acceptance or rejection criteria. In the analysis module, both the C-Scan and the independent tracks can be visualized and analyzed with different alarms, gain and rotational settings. Eddy Current Inspection reports with all the recorded tracks and the triggered alarms can be generated using the report utility.
