
Instruments
ZET@MICRO


ZET@PREMIUM
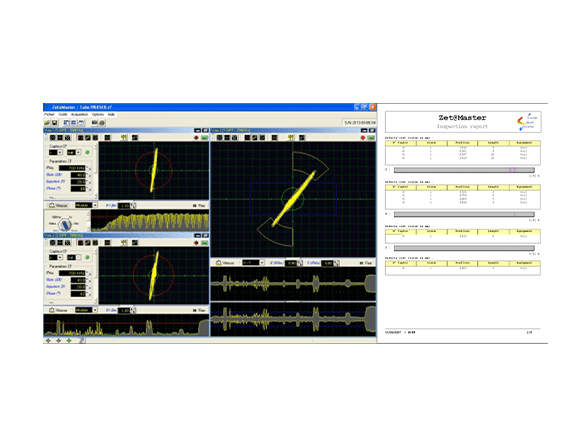
ZET@MASTER
Most powerful eddy current instrument designed for defects detection, conductivity measurement & multi-probes applications with up to 32 channels. Available in a standard version with touchscreen or rackacle version to facilitate its integration on a production line.
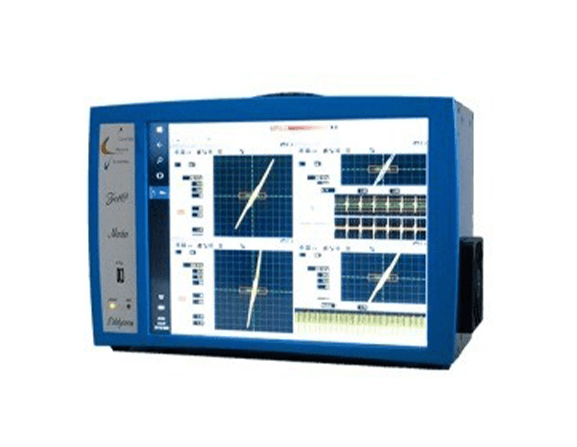
Encircling coil based system
The detection of flaws such as cracks, seams, slivers, and weld-line defects etc, in metallic materials can be done conveniently by using an encircling coil eddy current system. Helps locate surface defects in bar stock or wire products. Also detect both ID and OD defects in the tubing.
CMS offers a wide range of standard as well as customised designed eddy current coils/probes to meet specific inspection requirements.
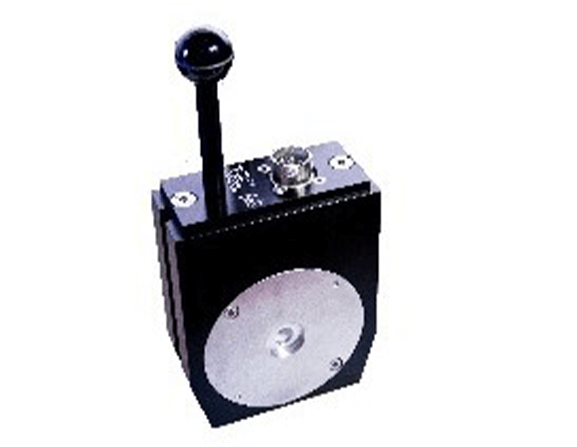
Standard Round Encircling Probe
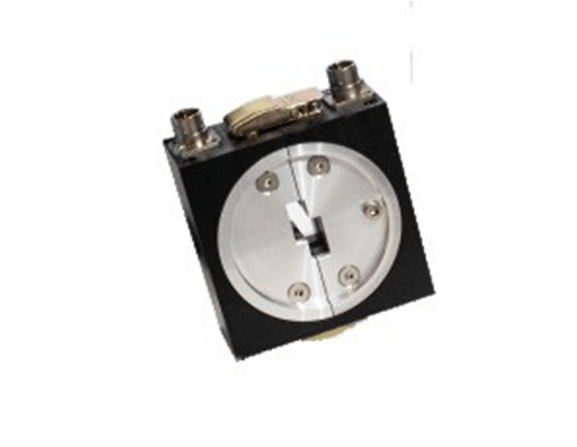
Opening Probe
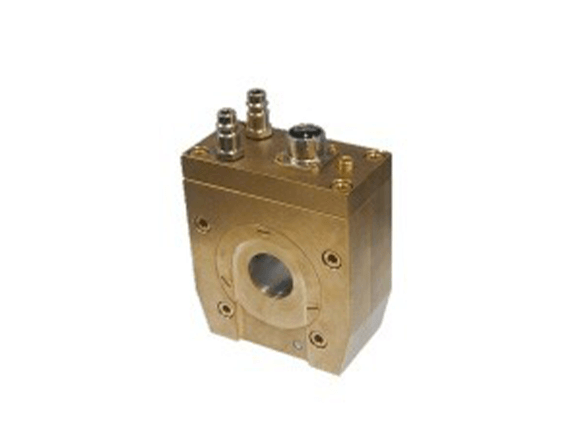
Hot inspection Probe

Weld Probe

Probe Holder with 4 Probes for Combustion Chamber Inspection
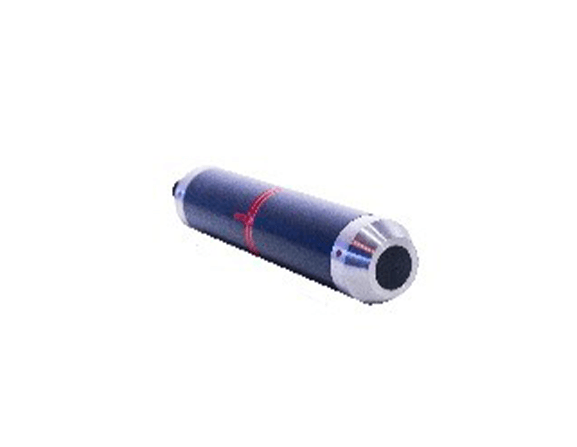
Standard Internal Probe
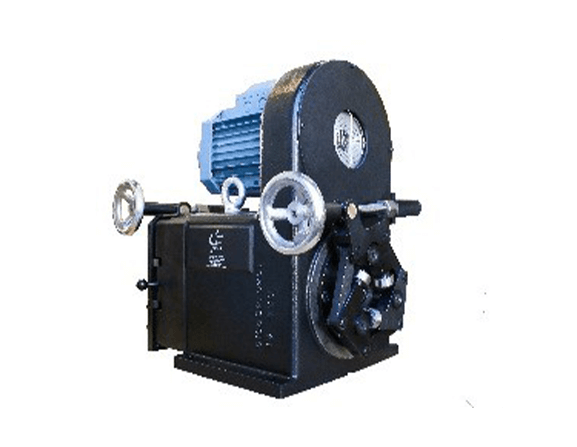
Rotating Head – RotoETscan
Used for the detection of surface or sub-surface longitudinal defects at high speeds and oncircular parts. Often installed directly on the production line, to control of long products such as tubes, bars & wires, made of ferrous or non-ferrous materials. Available for product diameters from 0.8 to 220 mm.
Test Material based units
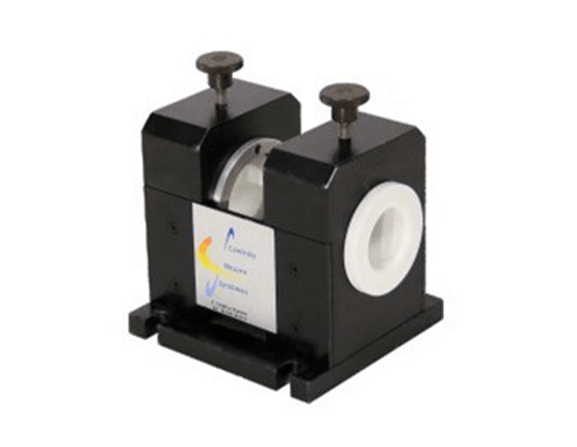
For Magnetic material – Magnetizing & Demagnetizing Unit
Sectorial Magnetizing Units
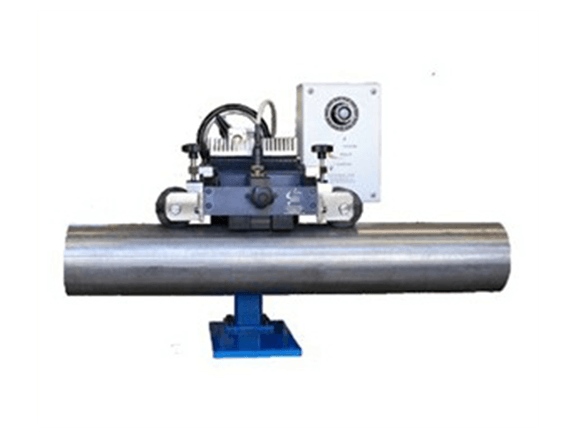
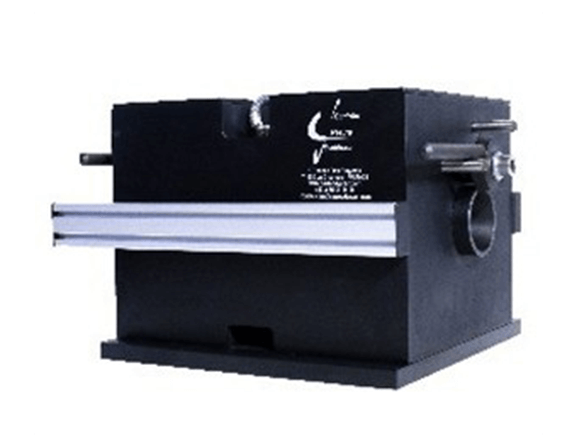
Sectorial Magnetizing Units
Used for the detection of surface or sub-surface longitudinal defects at high speeds and oncircular parts. Often installed directly on the production line, to control of long products such as tubes, bars & wires, made of ferrous or non-ferrous materials. Available for product diameters from 0.8 to 220 mm.
Coil Supports
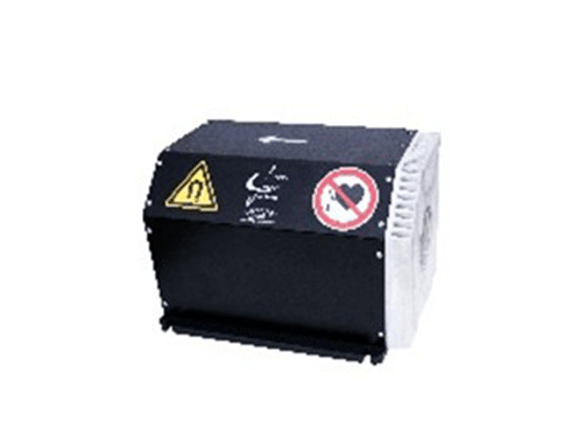
Demagnetizing Units
Accessories of ECT System
- Mechanical benches: Tailor-made to support all the equipment of the control line
- Centering devices: Ensures a concentric and precise guidance of the product.
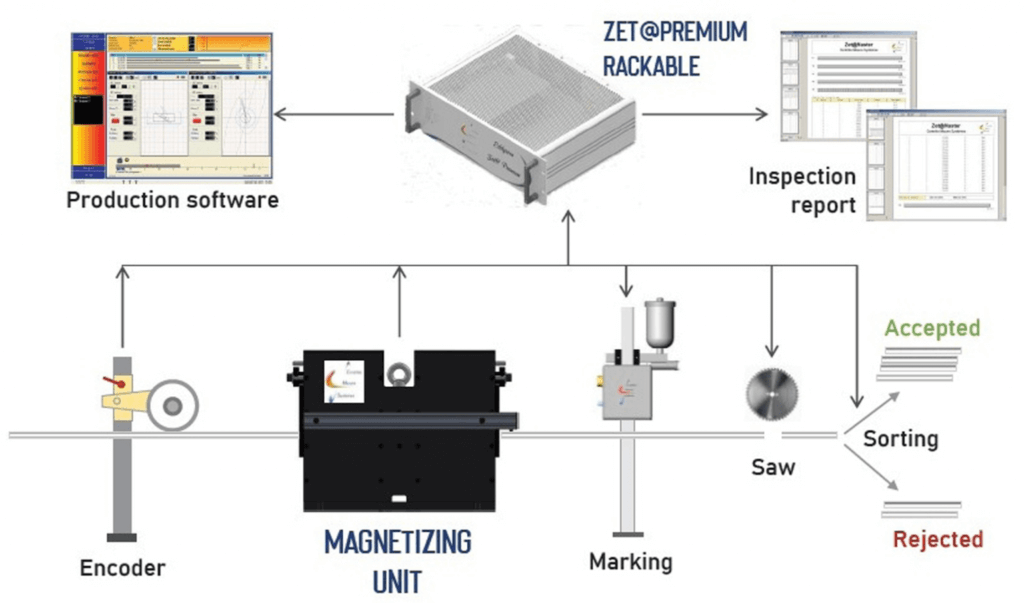
- Defect saw, Encoder & Marking system.

Software
- CMS offers standard as well as special eddy current software like Production, Acquisition & Recordviewer, Probus supervision, Zheis, etc.
- These software are user friendly and are highly developed to gather accurate information on defect detection for long and short products.
- They can display the signals, collect and process the resulting data, create and record individual or batch inspection reports, and bring up useful productivity statistics.
Configuration Example:
For detection of transverse defects on precision tubes
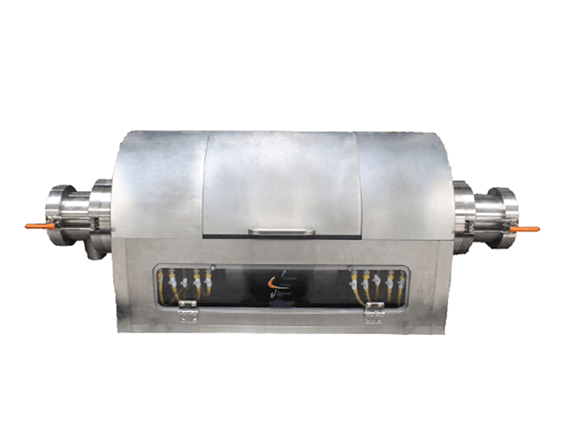
Ultrasonic Rotating Systems
Rotating Heads RotoUTscan
Salient Features
- Very high-speed inspection (rotating speed up to 8000 RPM)
- Minimum size of detected defects: 25 μm of deep
- Dimensional measurement accuracy: Wall thickness up to 2 μm; ID, OD up to 3 μm
- Fully adaptable to the client’s configuration requested
- Range of inspected products: from 4 to 250 mm diameter
Range of Products
| Tube Configuration | UTR-25 | UTR-40 | UTR-65 | UTR-90 | UTR-130 | UTR-180 | UTR-250 |
|---|---|---|---|---|---|---|---|
| Diameter range (mm) | 4-25 | 6-40 | 12-65 | 18-90 | 28-130 | 42-180 | 70-250 |
| Rotational Speed (rpm) | 8000 | 6000 | 4000 | 3000 | 2000 | 1200 | 900 |
| Bar Configuration | UTR-25 | UTR-40 | UTR-65 | UTR-90 |
|---|---|---|---|---|
| Diameter range (mm) | 4-25 | 6-40 | 12-65 | 18-90 |
| Rotational Speed (rpm) | 6000 | 4000 | 3000 | 2000 |


